If you're planning to tile a small area but you're not sure where to start, London Tile has got you covered. This DIY wall tiling kit contains everything you need to tile a small 5m² (square metre) wall area, and our step-by-step guide tells you exactly how to complete your project. We think this kit is ideal for tiling kitchen splashbacks, shower areas, small bathrooms, or stunning feature walls!
What's in the Tile Fix Direct Wall Tiling Kit
- Mapei Keraquick S1 Tile Adhesive – just mix with water (follow instructions on bag) and you've got a rapid-setting flexible tile adhesive from the leading brand Mapei. It sets in just 2 - 3 hours, so you can get grouting quicker!
- BAL Grout – just mix with water (follow instructions on bag) to get a solid white grout for joints up to 3mm wide. This grout has an hours pot life, so there's no need to rush. The grout sets completely after 24 hours.
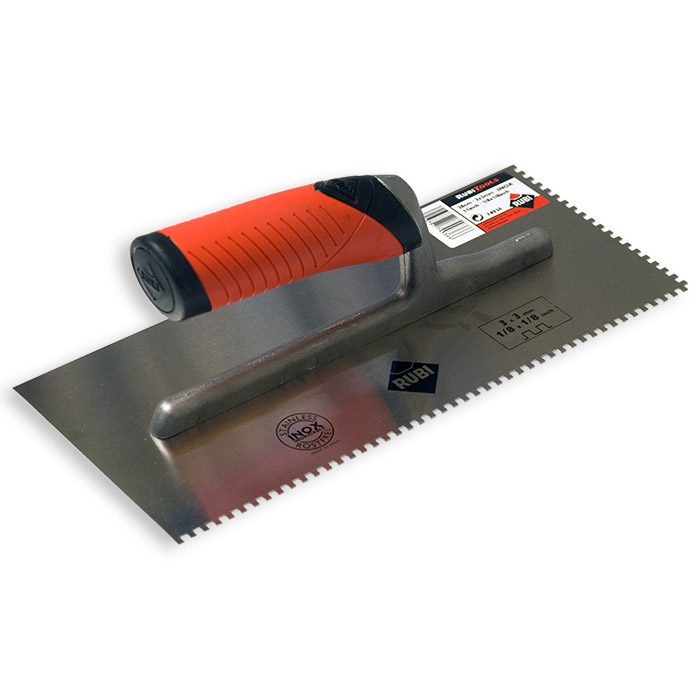
- Genesis Square Notched Trowel – use this to apply the adhesive to the tile and wall, we recommend a 6mm trowel for most jobs. This trowel makes easy (and clean) work of applying the adhesive where it needs to go.
- Orbry Tile Spacers – Orbry spacers are used to create even joints between the tiles to make your project line up perfectly. Choose your spacer size based on how big you want these joints to be, we recommend 2mm.
- Genesis 995 Grout Float – use this professional grout float for removing fresh excess grout from your tiling project before it cures, giving your wall a professional look and a clean finish.
Please check the manufacturer’s instructions for each product to ensure they can be used on your wall type and with your chosen tiles.
How to tile a wall with the Wall Tiling Kit:
- Lay your tiles out to decide on pattern you will fix them in, and check that you are happy with the overall colour, pattern and quality of the tiles.
- Check your wall is in good condition for tiling; the surface should be flat and dry– check the adhesive instructions for more detailed information relating to your specific wall type.
- Apply adhesive to the wall and comb to required bed thickness, ensuring the ribs of adhesive all run in one direction. If fixing large ceramics (300x300mm - or equivalent surface area of tile up to 0.09m² i.e. 450x200mm, 600x150mm), /heavily-patterned tiles, apply additional adhesive to tile reverse (DO NOT apply over 3mm maximum).
- Press the tile firmly into the ribs of adhesive and into position, with slight twisting/sliding action to ensure optimum adhesive contact.
- Use spacers between the tiles to ensure you have even gaps between the tiles.
- Leave the adhesive to set for a minimum of 24 hours before you begin grouting.
- Mix the grout by slowly adding 3 parts powder to 1 part clean cold water by weight (e.g. 1kg powder with 0.3 litres water). Mix until smooth paste formed.
- Completely fill tile joints with mixed grout and compact well, removing excess grout from tile surface as you go.
- Allow approximately 15 minutes for grout to dry before cleaning tile surface. Using a dampened sponge, clean surface diagonally to grout lines. Rinse out sponge frequently with clean water.
- When grout has set sufficiently within joints (around 24 hours), polish the tile surface with dry clean cloth or give it final wash with a dampened sponge and clean cold water.
Click the links below to see the technical specifications and user guides forthe products in this kit..


